Can You Freeze Mashed Potatoes?
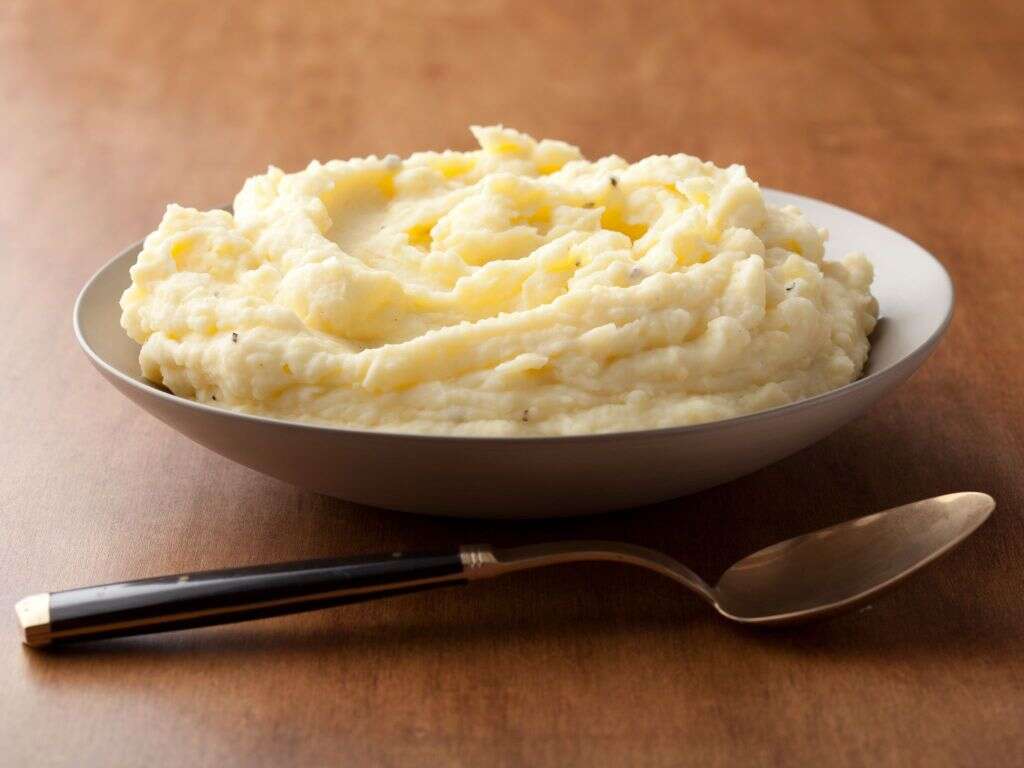
Mashed potatoes make an excellent side dish to so many meals. When made right, they are so smooth and creamy and taste just wonderful. They are enjoyed by people of all ages, and the popularity of mashed potatoes has spread around the world. Another great thing about mashed potatoes is that even amateurs can do a good job of them.
Making good mashed potatoes can be time-consuming, though, leaving them an unpractical option for a lot of people. You can overcome this by making some mash when you are free and freezing it ready to be used when you need it. Here’s a few tips on how to do this and how to get the best results.
1. Choose Starchy Potatoes
Before you start cooking, there are certain tips you should follow to help give you the best results. Perhaps the main one being that you will need to choose the right potatoes for the job. What matters most when it comes to choosing your potatoes is their starch content, and for mashing and freezing, potatoes with lots of starch are best. This is because the high starch content helps to make your potatoes light and fluffy when mashed. Most potatoes you will find in a store are not high in starch, although you may find Russet potatoes that are. Katahdin potatoes are another fairly common high-starch potato that you may find in your local store.

2. Mix Potatoes for Flavor
As mentioned, potatoes with a high starch content are the best option when making mash and then freezing it. While it does help to give you that desired fluffiness, however, there is a drawback. The drawback being that starchy potatoes are also those that are the least flavorful.
Don’t worry though because you can still get the best of both worlds. For some added flavor to your mash, you can try using a blend of starchy potatoes and non-starchy potatoes. Yukon gold potatoes might be the best option for you, and they work great when blended with Russets. Try using 50/50 of each type.

3. Fat Makes Them Freeze Well
Adding plenty of butter and/or cream to mashed potatoes helps to make them so much more delicious. Some might advise against this though because it will add to the calorific value of the mash, making it more fattening than we would like. When freezing mash, there is more of an incentive to forget the calories and add in the butter.
Adding more fat to the mash (in the form of butter or cream) will help it to fare the freezing and thawing process better. It is quite an important step because the potatoes are unlikely to do at all well without the butter.

4. Freeze in Portions
To make things a lot easier when you need some mash in the future, you can freeze it in separate serving-sized portions. To do this, line a baking sheet with parchment paper on a tray, and scoop individual serving-sized portions of mash onto the paper. When you have prepared all of your portions of mash, put the tray in the freezer overnight.
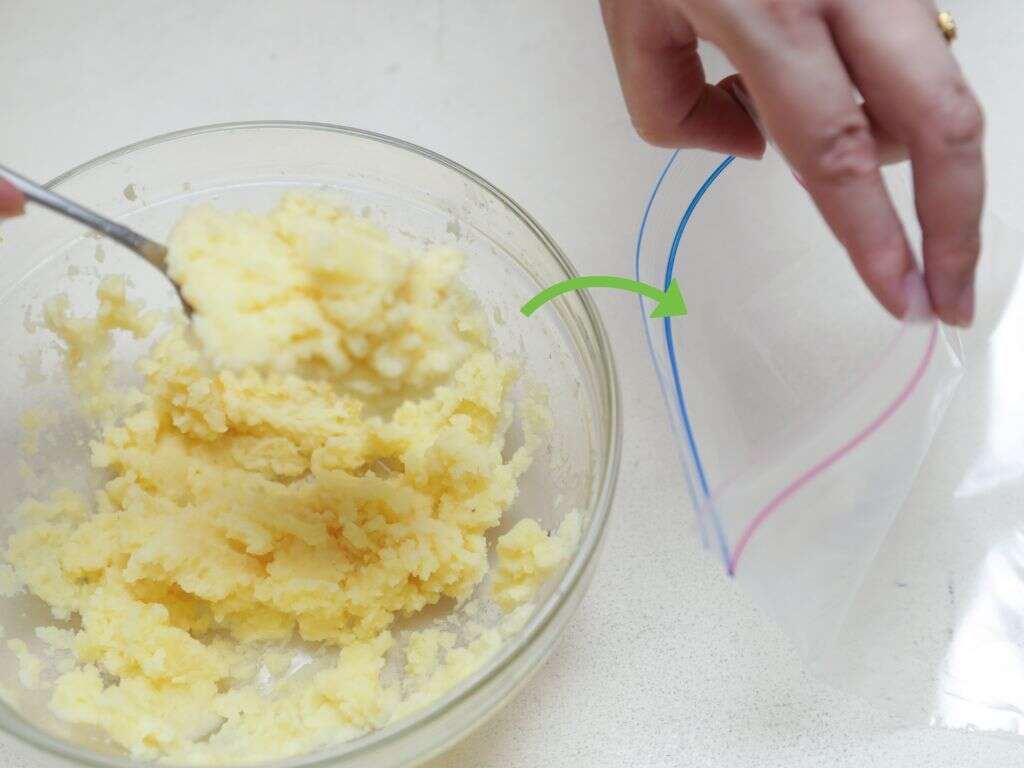
Then, when the portions are completely frozen, you can place them all in the freezer together in a freezer bag. You can skip making separate portions if you wish and just put all the mash together in a freezer bag, but it can make things awkward when it comes to taking the mash out of the freezer later.
5. Label
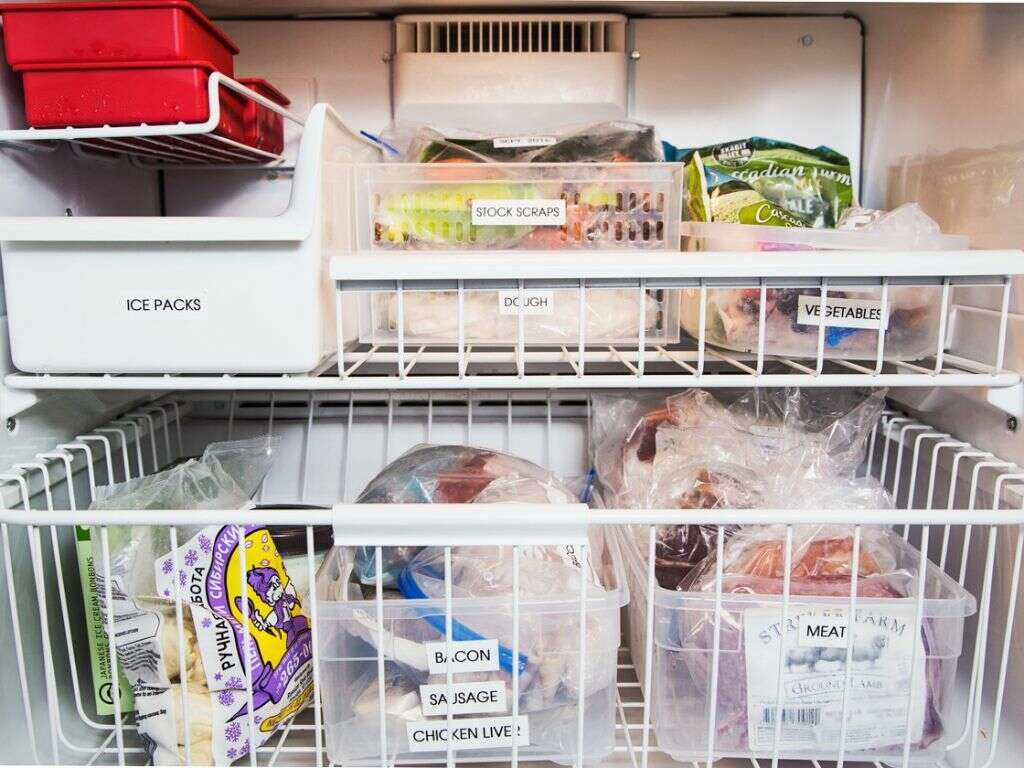
Depending on how large your freezer is, there is likely to be a lot of stuff in there. This can make it difficult to know what is what, and how long it has been there. Plan ahead, however, and you won’t have this problem at any point in the future. Buy some labels that are suitable for use in freezers, along with a suitable marker pen.
Use this to clearly label each bag or container with all the relevant information. Make sure to write clearly what is in there, especially what it is and the date it was put in to freeze.

6. Thaw in the Fridge
The best way to defrost frozen mash it to do it slowly and to do this, you should put it in the fridge directly after taking it from the freezer. While fridges are cold, they still keep food above the point of freezing, which will mean that your mash will slowly thaw out.
The mash will take a day or two to thaw out thoroughly so you will need to plan ahead. This may be a little inconvenient at times, but this method does give the best results so it is worth the extra effort. If this is not suitable for you, there are some other methods you can try.

7. Thaw on the Stove
If you can’t wait a day or two for your mash to thaw out, you can try doing it on the stove instead. To do this, place the mash in a large pot and place it on a low heat. Make sure to stir occasionally as it defrosts. This method also makes it easier for you to add seasoning as you wish. A similar method is to use the oven instead.
Heat an oven to 350?F and put in the potatoes in a covered dish, leaving them in there for approximately half an hour. Make sure to keep an eye on them to be sure the potatoes don’t burn.

8. Microwave
Perhaps the most popular way to thaw and/or heat anything is to use a microwave. It is quick, easy, and convenient, making it ideal in particular for people that have busy lives. It doesn’t always give the best results but, for many people, it is a worthy sacrifice to make for speed and convenience.
For the best results with a microwave, put the potatoes in a covered dish and microwave them at low power. Once the potatoes have thawed, you can consider raising the microwave power to heat them up more. At this stage, you can also add seasoning and any other items if you so wish.

9. Reheat in Slow Cooker
Slow cookers are popular, and for very good reasons. They help to cook foods in a way that makes them wonderfully succulent, and when it comes to meat, a slow-cooker cooks it so the meat is so tender that it just falls off the bone. Slow cookers can also be very useful in other ways, such as in helping to reheat mash.
Put the mash in a slow cooker for 2 to 4 hours on a low heat for the best results. This method works best when frozen mash has been thawed in a refrigerator. It takes more time and effort, but the results are well worth it.

10. Add Cream
If you get it just right, then your frozen and thawed mash will be barely distinguishable from mash that has not been anywhere near a freezer. Even the best preparations don’t guarantee the best results, though, and your mash might need a little more work once it has thawed out.
Once the mash has been thawed out, it will sometimes have a watery consistency. To overcome this, mix in some cream cheese or sour cream to help make it thicker. Not only will this help to make the consistency just right, it will also help to enhance the flavor of the mash.


